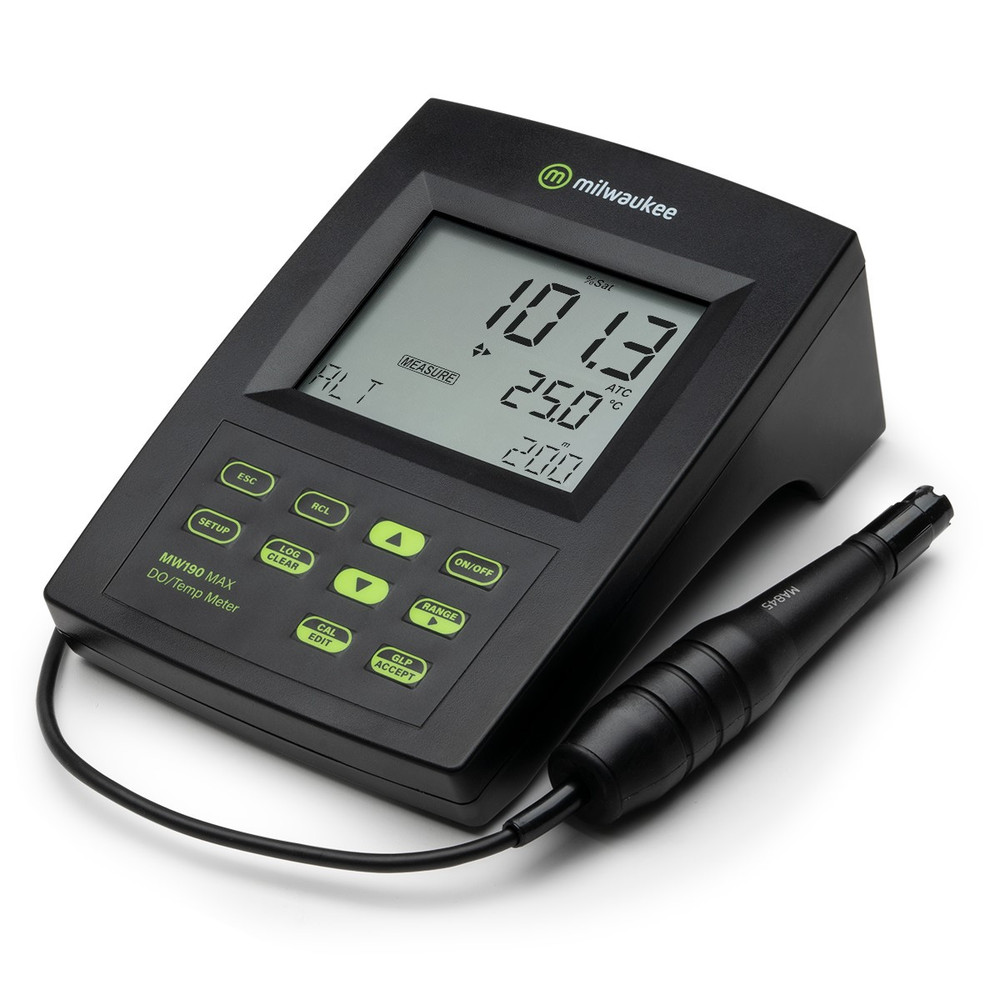
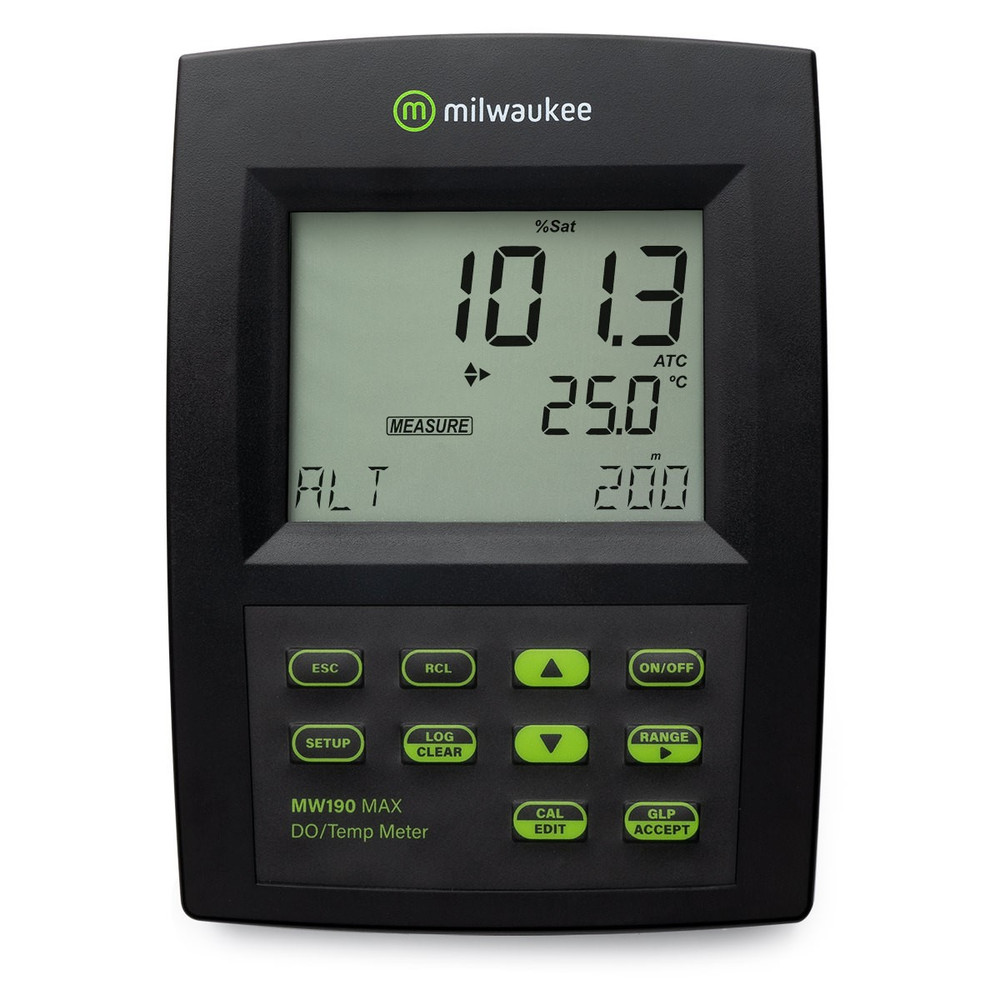
Milwaukee MW190 MAX Dissolved Oxygen Bench Meter With Automatic Calibration
Key Specifications
- O2 Range: 0.00 to 45.00 mg/L O2 (ppm)
- % Saturation O2: 0.0 to 300.0% O2
- Temperature Range: -5.0 to 55.0°C (23.0 to 131.0°F)
- O2 resolution: 0.01 (ppm) mg/L
- % Saturation O2 Resolution: 0.1%
- Temperature Resolution: 0.1°C / 0.1°F
- O2 Accuracy: ±1.5% Full Scale
- % Saturation O2 Accuracy: ± 1.5% Full Scale (@20°C / 68°F)
- Temperature Accuracy: ± 0.4°C (±0.8°F)
- Calibration DO: Automatic single (offset MA9070) or dual point with slope in 100% saturated air
- Calibration Temperature: 2 point at 0 and 50°C (32.0 and 122.0°F)
- Altitude compensation: 0 to 4000 m (13,120′)
- Altitude Resolution: 100 m (328′)
- Salinity Compensation: 0 to 40g/L
- Salinity Resolution: 1 g/L
- Temperature Compensation: Automatic, 0.0 to 50.0°C (32.0 to 122.0°F)
- Probe: MA840/2 polargraphic probe (included)
- Membranes: 5 included with O-Rings (included)
- Computer Interface: RS232/USB opto-isolated
- Power Supply: 12 VDC (included)
- Dimensions Meter: 230 x 160 x 95 mm (9.0 x 6.3 x 3.7 inches)
- Weight: 0.9 kg (2.0 lbs.)
- Environment: 0 to 50°C / 32 to 122°F; max RH 95%
- Warranty: 3 years (meter)
DESCRIPTION
The Milwaukee MW190 MAX Bench Dissolved Oxygen meter is one of Milwaukee’s most popular meters with its reliable and fast operation as well as its accuracy.
The Milwaukee MW190 MAX DO Bench Meter is preferred by people looking for lab level accuracy without the high cost. The Milwaukee DO Meter is popular with everyone from field biologists, educators, fish farmers, koi pond owners, education, water treatement plants and laboratories.
DESIGN FEATURES
- Fast, easy-to-read results with large digital LCD readout.
- Repeatable, accuracy to ±1.5% FS.
- Lightweight and has a small benchtop footprint.
- Single offset or dual point slope with open air 100% saturation calibration.
- Altitude and Salinity compensation.
- Automatic temperature compensation.
- Uses MA845 (included) reinforced polarographic probe with an oxygen-permeable polytetrafluroethylene (PTFE) membrane sensor
- 5 o-rings, membranes and one protective cap included
- 2 meter probe cable for extra flexibility when testing
- Logging up to 50 samples.
- 12 VDC power supply.
- Easy RS232/USB opto-isolated
- Complete with DO probe, initial calibration solutions and cables.
CARE AND USE
PROBE PREPARATION CALIBRATION PROCEDURE
D.O. Probes are shipped dry: To hydrate the probe and prepare it for use, connect it to the meter and procede as follows:
1. Remove the the red and black cap. This cap is used for protection during shipping.
2. Wet the sensor by soaking the bottom 2.5 cm of the probe in electrolyte (MA9071) for 5 minutes.
3. Rinse the membrane (supplied with meter) with electrolyte solution while shaking it gently. Refill with clean electrolyte solution.
4. Gently tap the sides of the membrane with the fingertip to ensure that no air bubbles remain trapped. To avoid damaging the membrane, do not tap the membrane directly on the bottom.
5. Place the O-Ring (suppield with membranes) properly inside the membrane cap.
6. With the sensor facing down, screw the cap clockwise. Some electrolyte solution will overflow.
7. Turn the unit on use on/off key.
8. All LCD tags are displayed and a beep is heard while the instrument performs a test.
9. The “COND” message will be displayed for about 45 seconds to inform the user that the probe is in auto-conditioning mode (automatic polarization).
10. Once “COND” dissappears, the probe is polarized and the instrument can be calibrated.
2. Calibration Offset Procedure
1. Remove the clear protective cap.
2. Submerge the probe in MA9070 zero oxygen solution and stir for about 2-3 minutes.
3. Press CAL. The “WAIT” tag will blink on the LCD until reading is stable.
4. When the reading is stable, “READY” & “ACCEPT” tags are blinking. Press ACCEPT to confirm the “0.0%” D.O. calibration.
NOTE: When the instrument is not in use, place the CLEAR plastic cap (supplied with probe) over the membrane.
Extra tips
- Watch for the membrane having wrinkles or stretch marks. If you see wrinkles, replace with a new membrane.
- Always use fresh electrolyte solution (MA9071).


